Don't Wait To Insulate! Get A Free Estimate:
Ice Dam Solutions: Prevent Ice on Your Home with Spray Foam Insulation and Other Tips
January 11, 2019
Every year, home losses due to ice, snow, and cold damage add up to as much as $1.2 billion. Do you know how to prevent ice dams from harming your home?
Many homeowners don’t learn about ice dam solutions until it’s too late. However, repairing this type of damage can get incredibly costly, and prevention is easy. That’s why we’ve put together this complete guide to protecting your home from the ice dam threat.
Ready to learn how to winter-proof your home? Keep reading to find out how to prevent ice dams for good!
What are Ice Dams?
If you live in a cold area, you may already know about ice dams. But if you just moved somewhere colder, or live in a temperate area with the occasional cold snap, you might not be familiar.
Ice dams are blocks of ice that form along the edge of your roof. You’ll often see icicles hanging from the edge of these ice dams.
An ice dam doesn’t cause any problems for your home — until it starts to melt. Then, it can start to create expensive home damage that you might not notice until it’s too late.
How Do Ice Dams Form?
Ice dams start with a snowfall. As the area below your roof is warmer than outside, some of the snow on your roof will melt. However, the edges or eaves of the roof stay cold, since they aren’t directly over the rest of the house.
As the snow melts on your roof, it slides down toward the eaves, where the colder area makes it freeze again. The ice gradually builds up to create a dam along the roof’s edge.
The heavier the snowfall, the more serious the ice dam becomes. You also can’t expect ice dams to form evenly all over the house. Some parts of your roof are warmer or cooler than others, so larger ice dams tend to collect in certain areas.
Why Ice Dam Prevention Matters
Ice dams are the reason your home gets a pretty trim of icicles in the winter. But the damage they cause is far less visible.
As the weather warms and the ice dam starts to melt, the edge of the dam allows water to pool behind it. That water can make its way under your shingles, and then through your roof into your home.
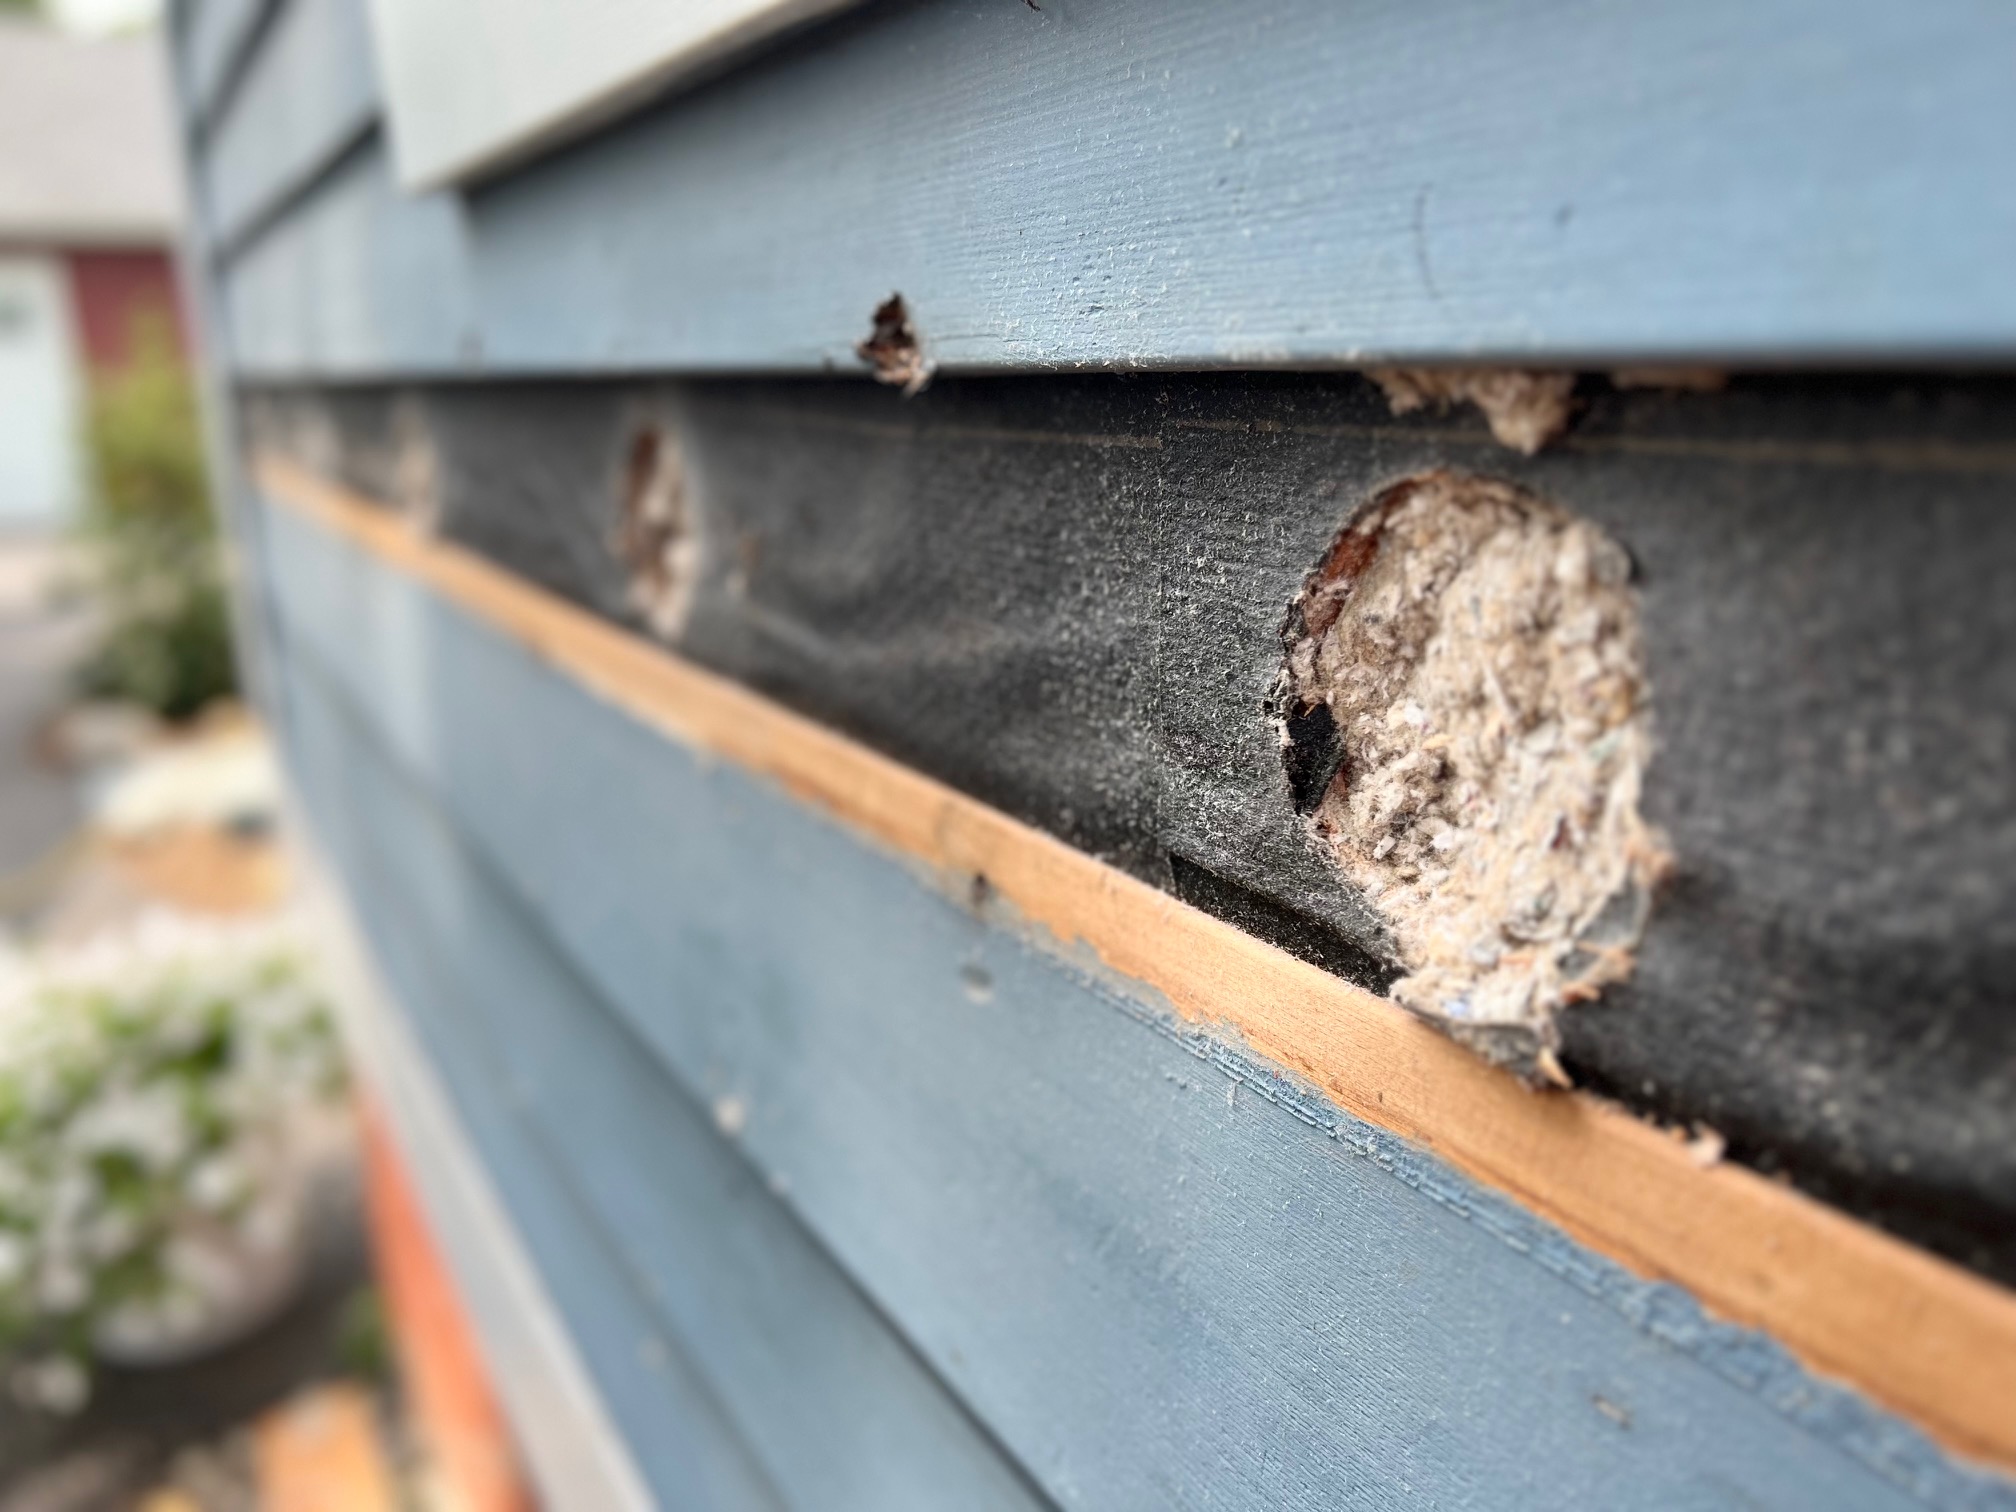
You might see signs of this damage as rust on the fasteners of your drywall first, or as paint that starts to peel near the ceiling. Over time, the water damage can great stains near the ceiling, doors, and windows. It might lead to sagging drywall, or water damage on the ceiling.
If you’re not vigilant, this damage can become serious before you notice it. For example, if your home has an attic, this little-visited part of the house will show the signs of damage first.
This damage is often covered by your insurance. Still, it’s not worth the hassle of needing to get important parts of your home fix. It’s much better to take the steps to prevent ice dams in the first place.
The Best Ice Dam Solutions
The most effective way to solve this problem is to insulate and air seal your home.
- Spray Foam Insulation
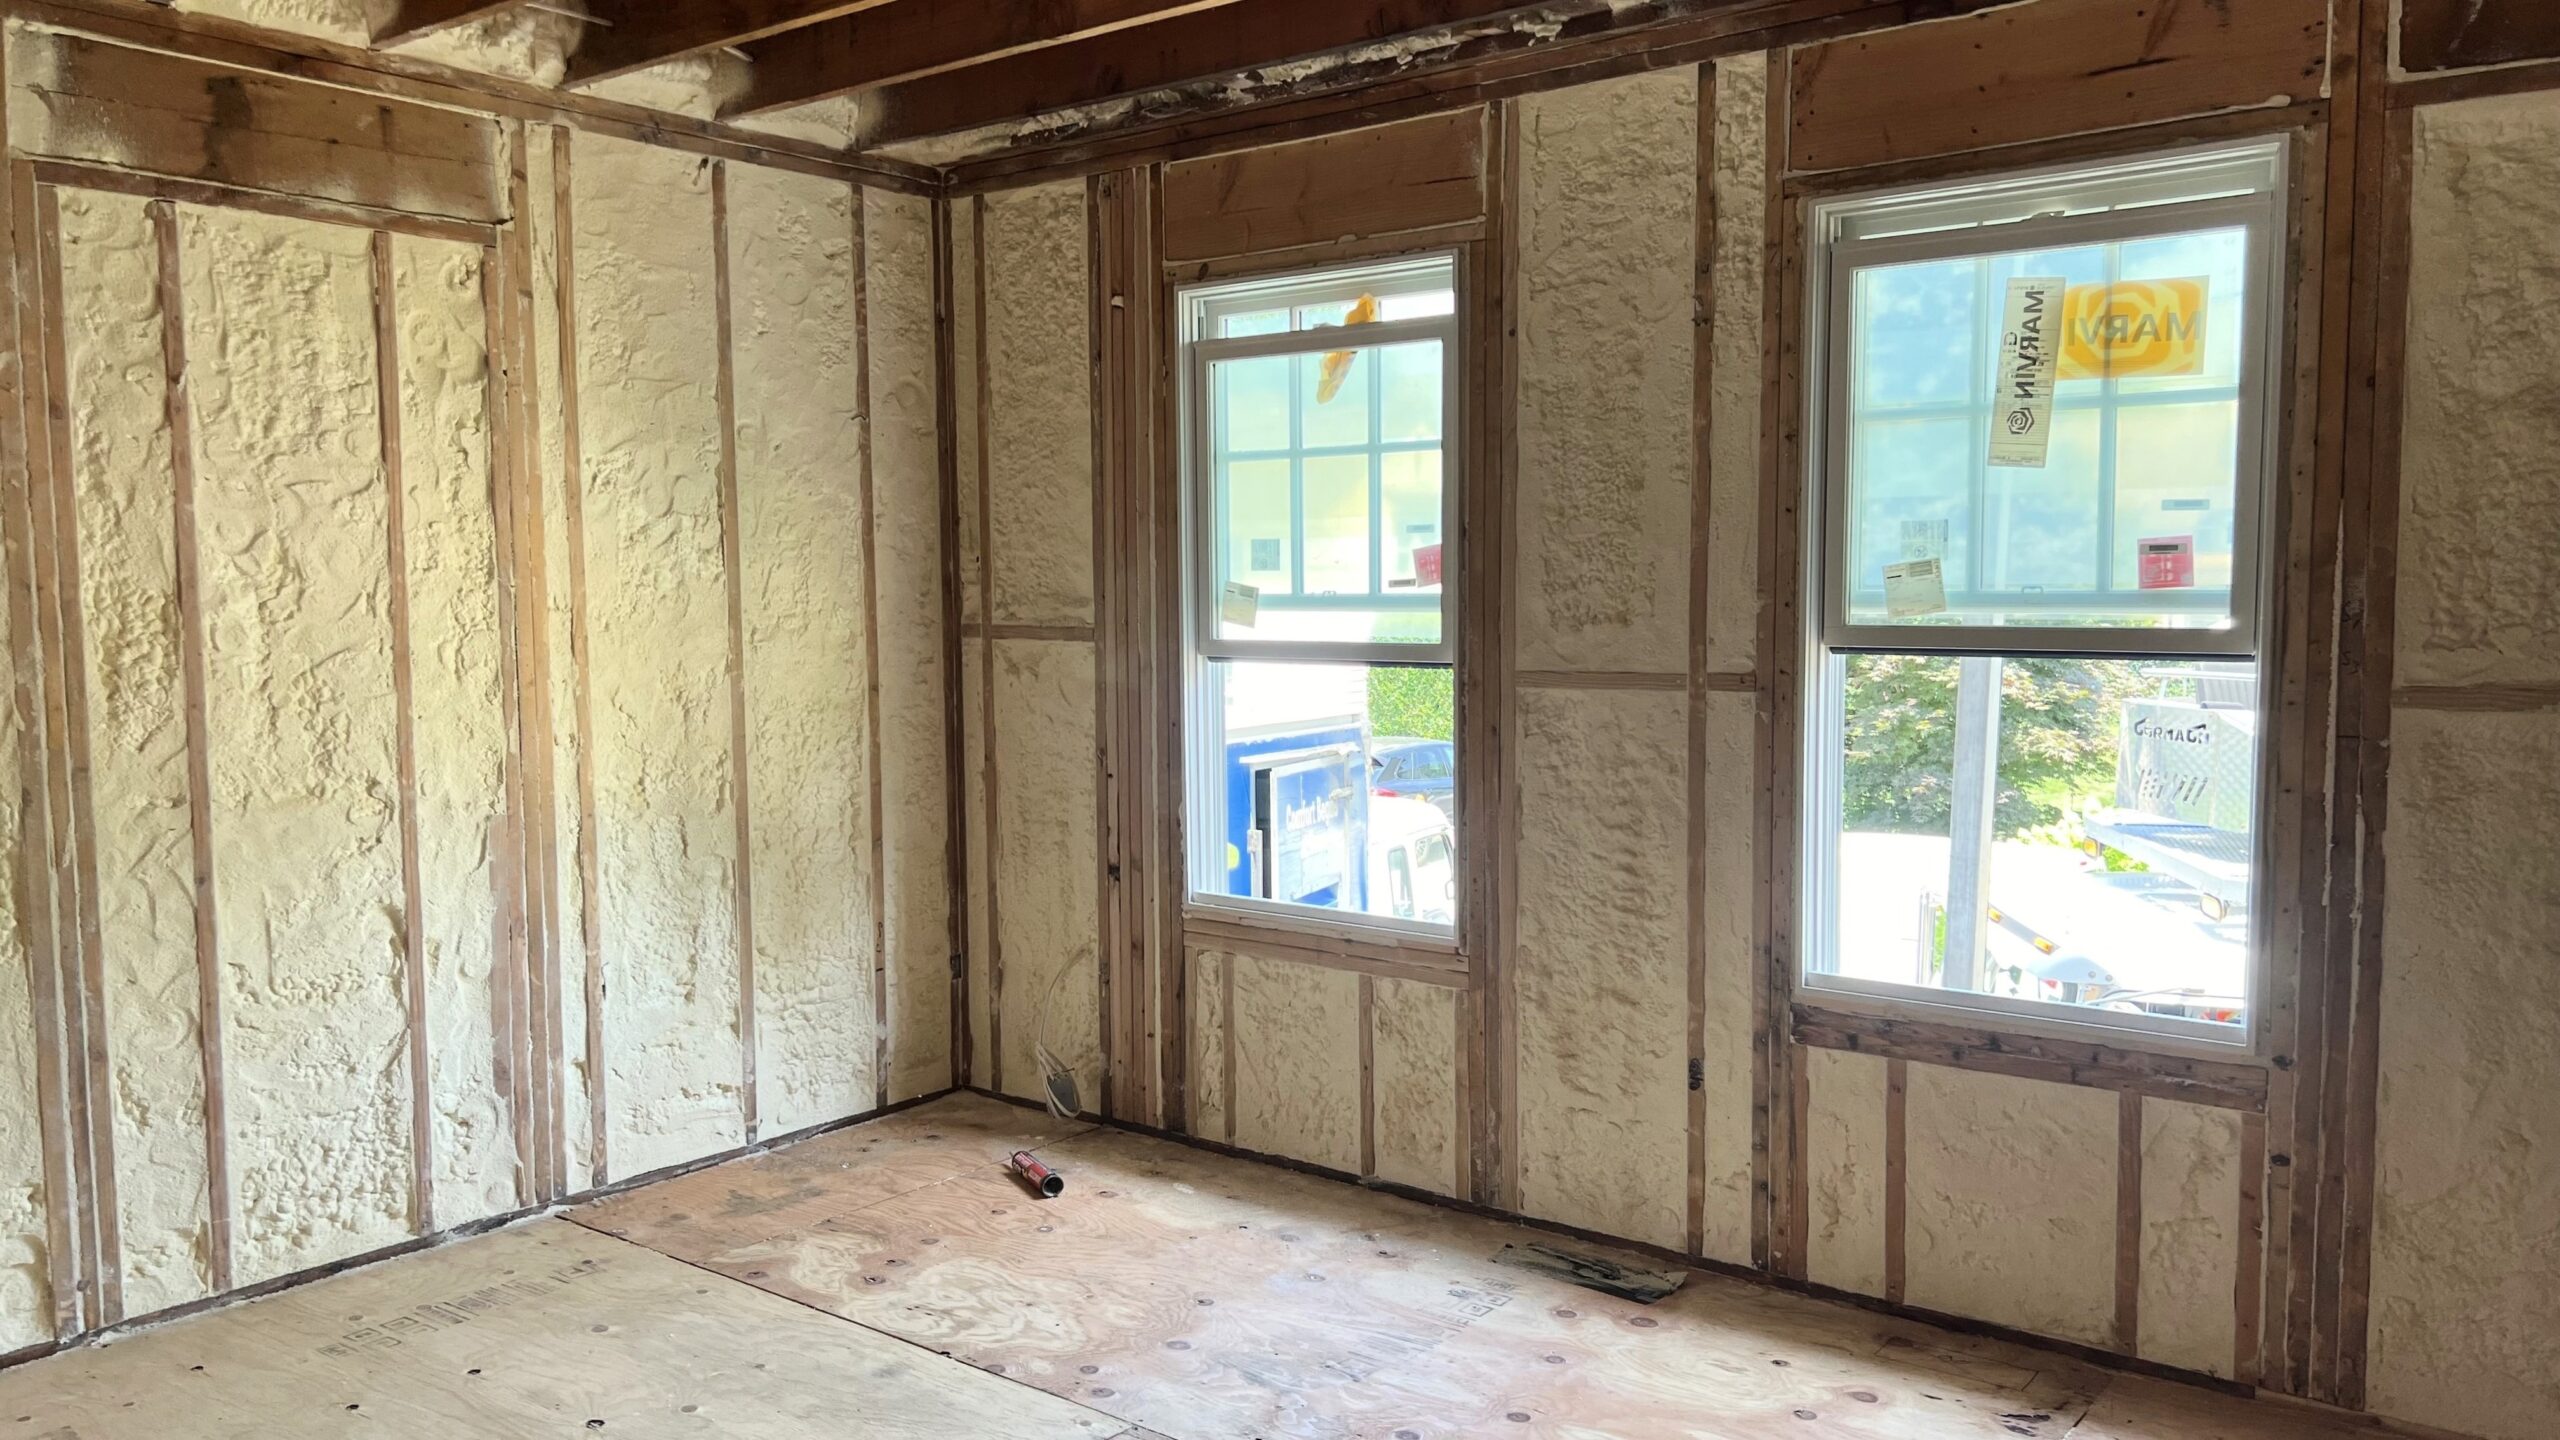
This is one of the most effective insulation products to prevent ice dams.
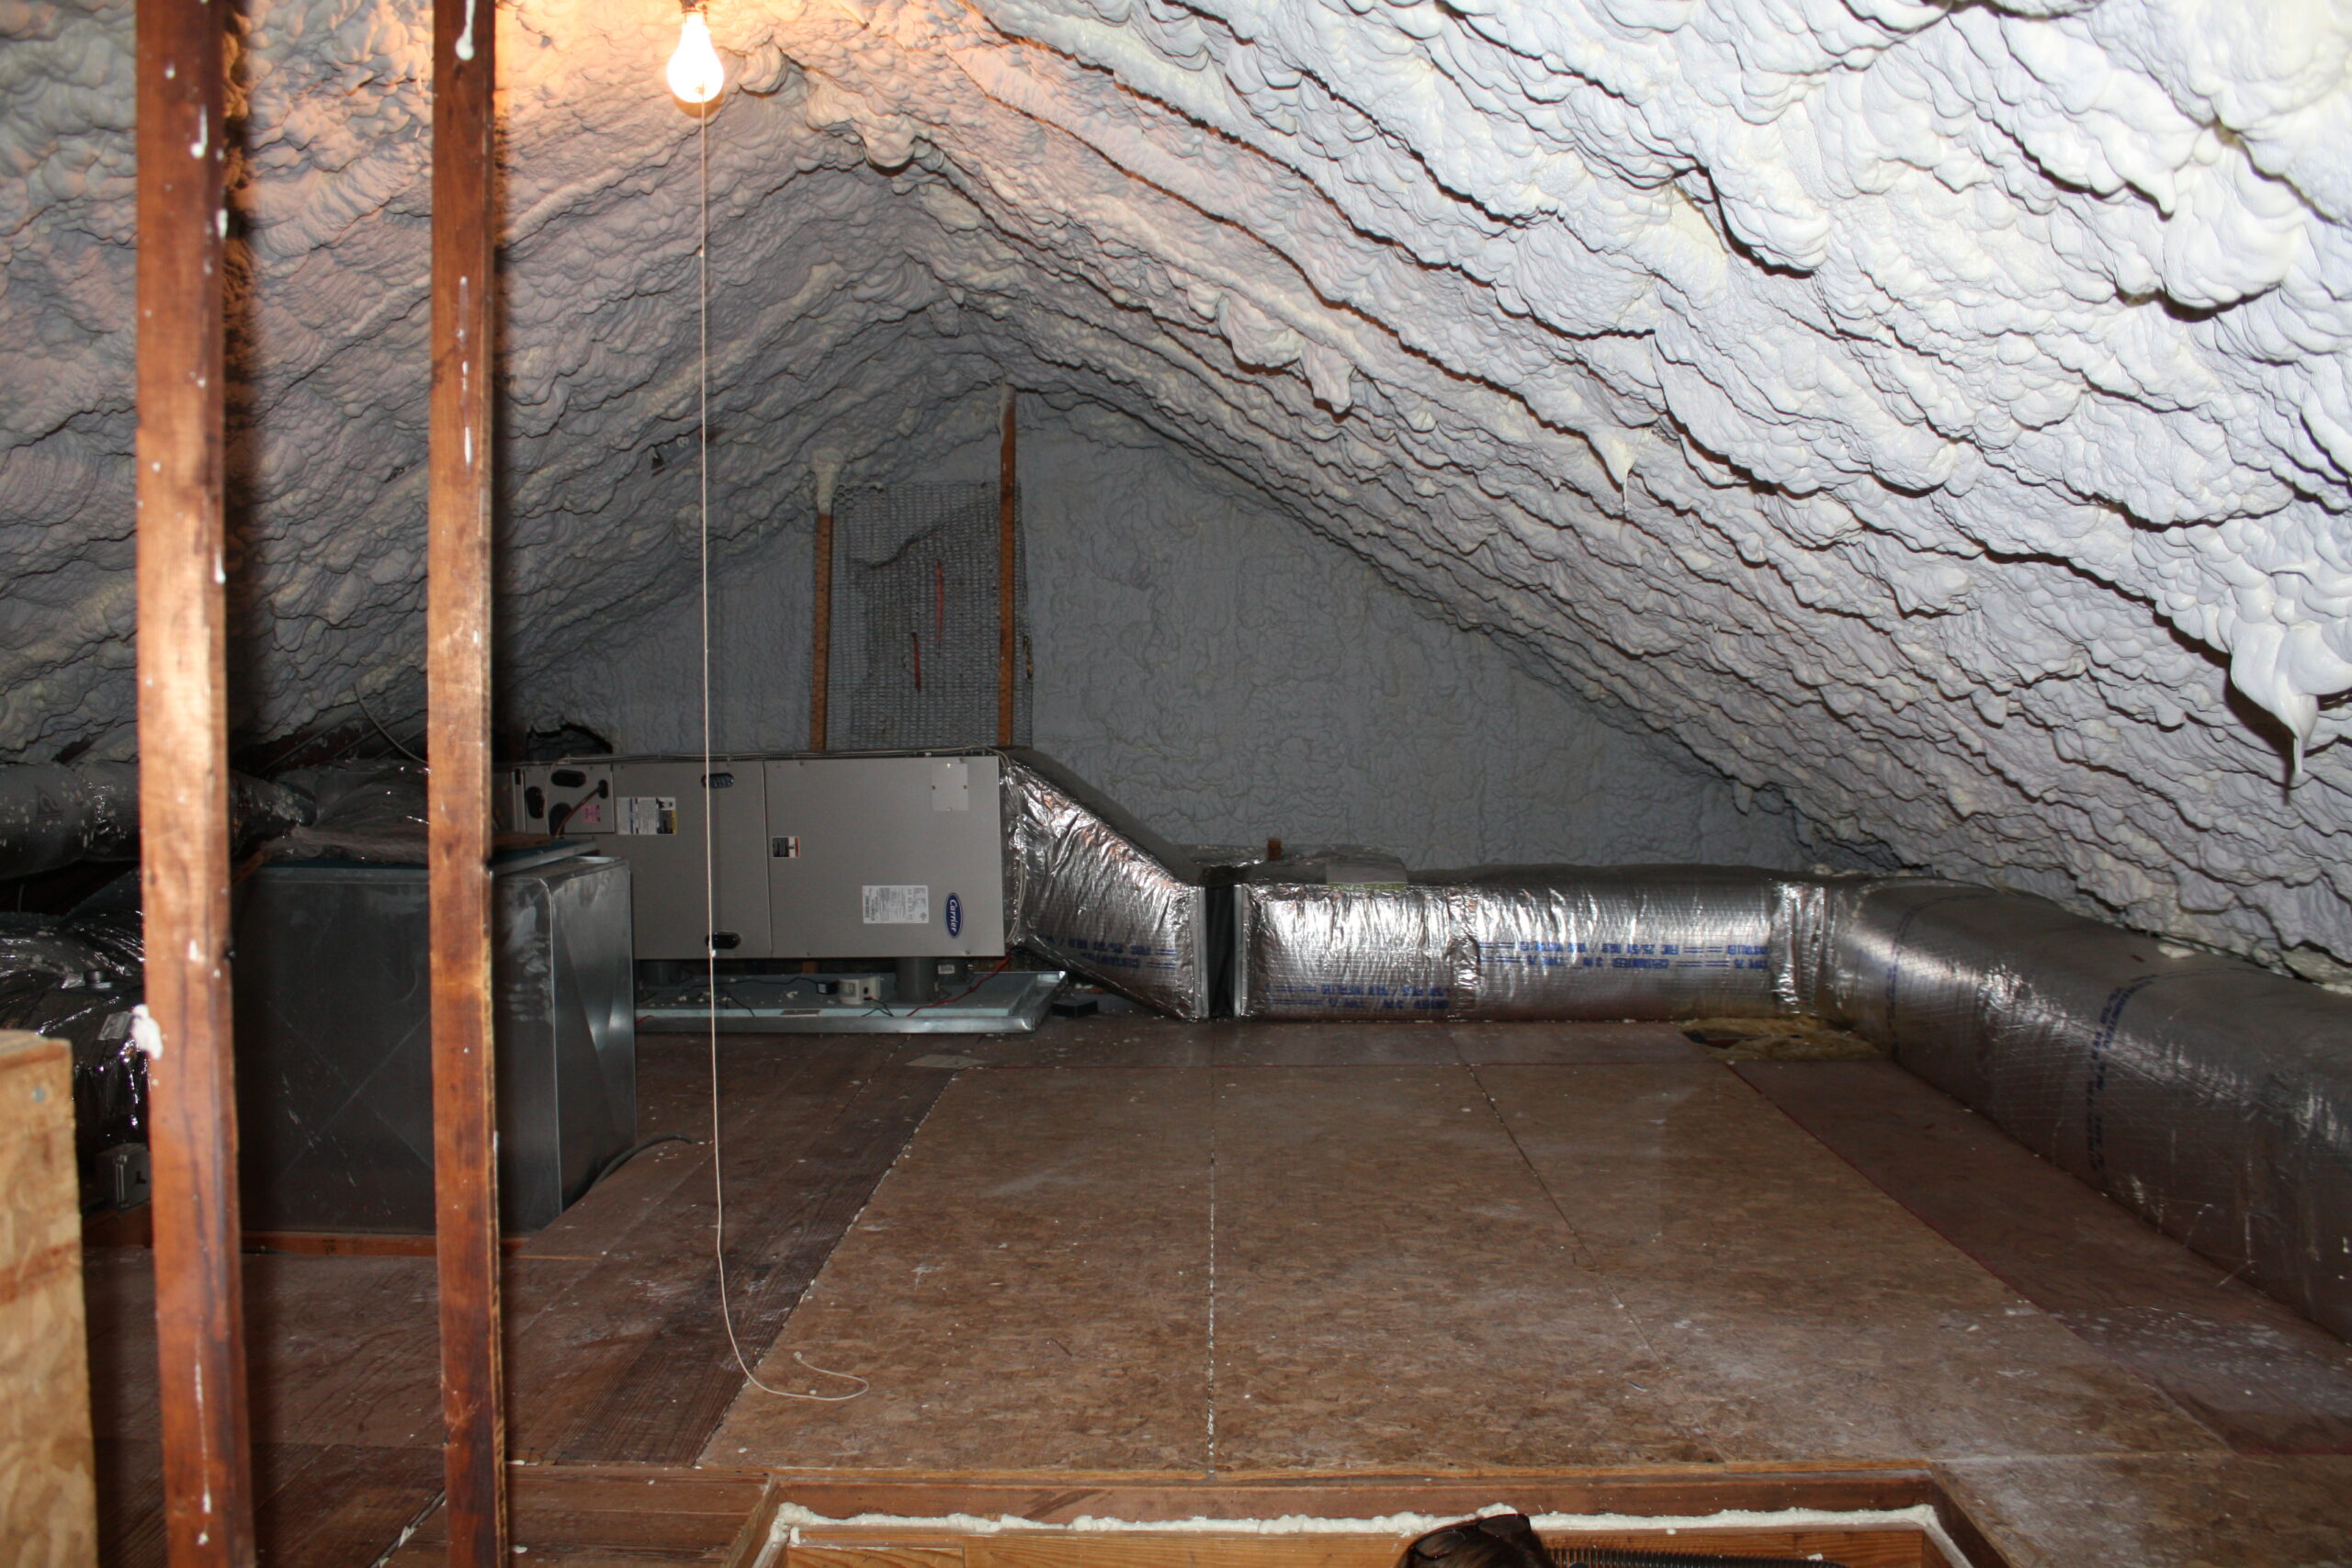
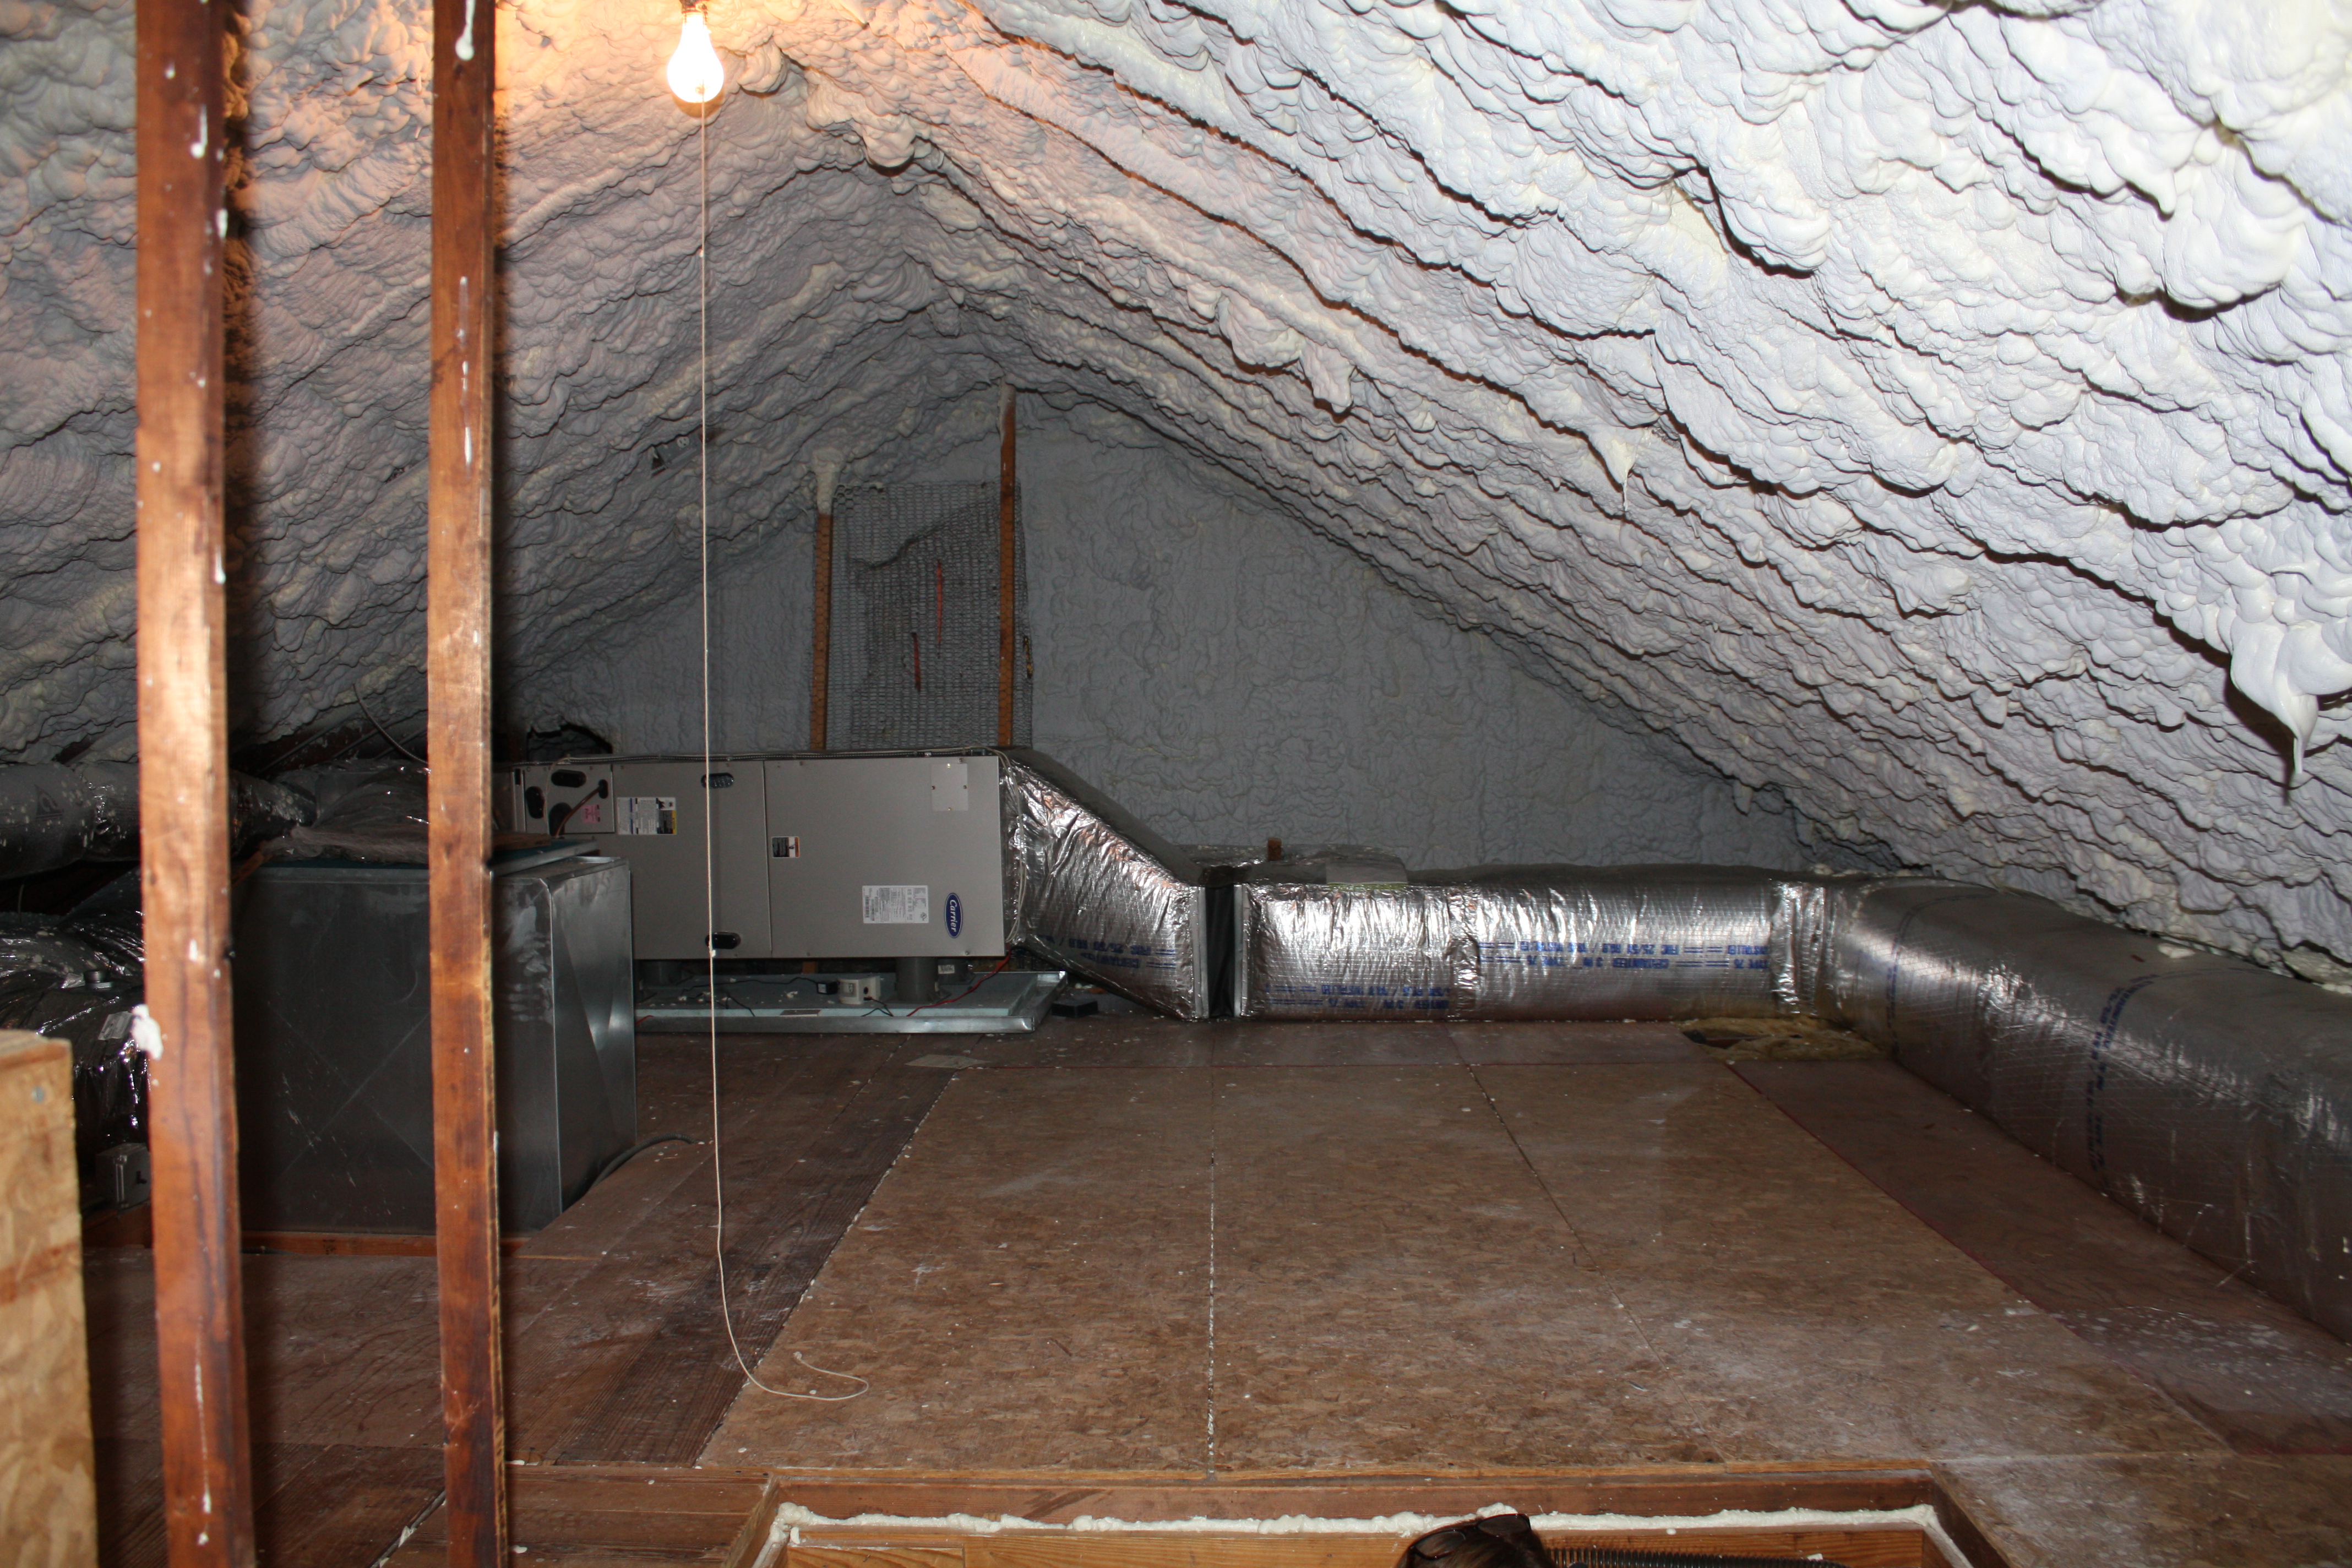
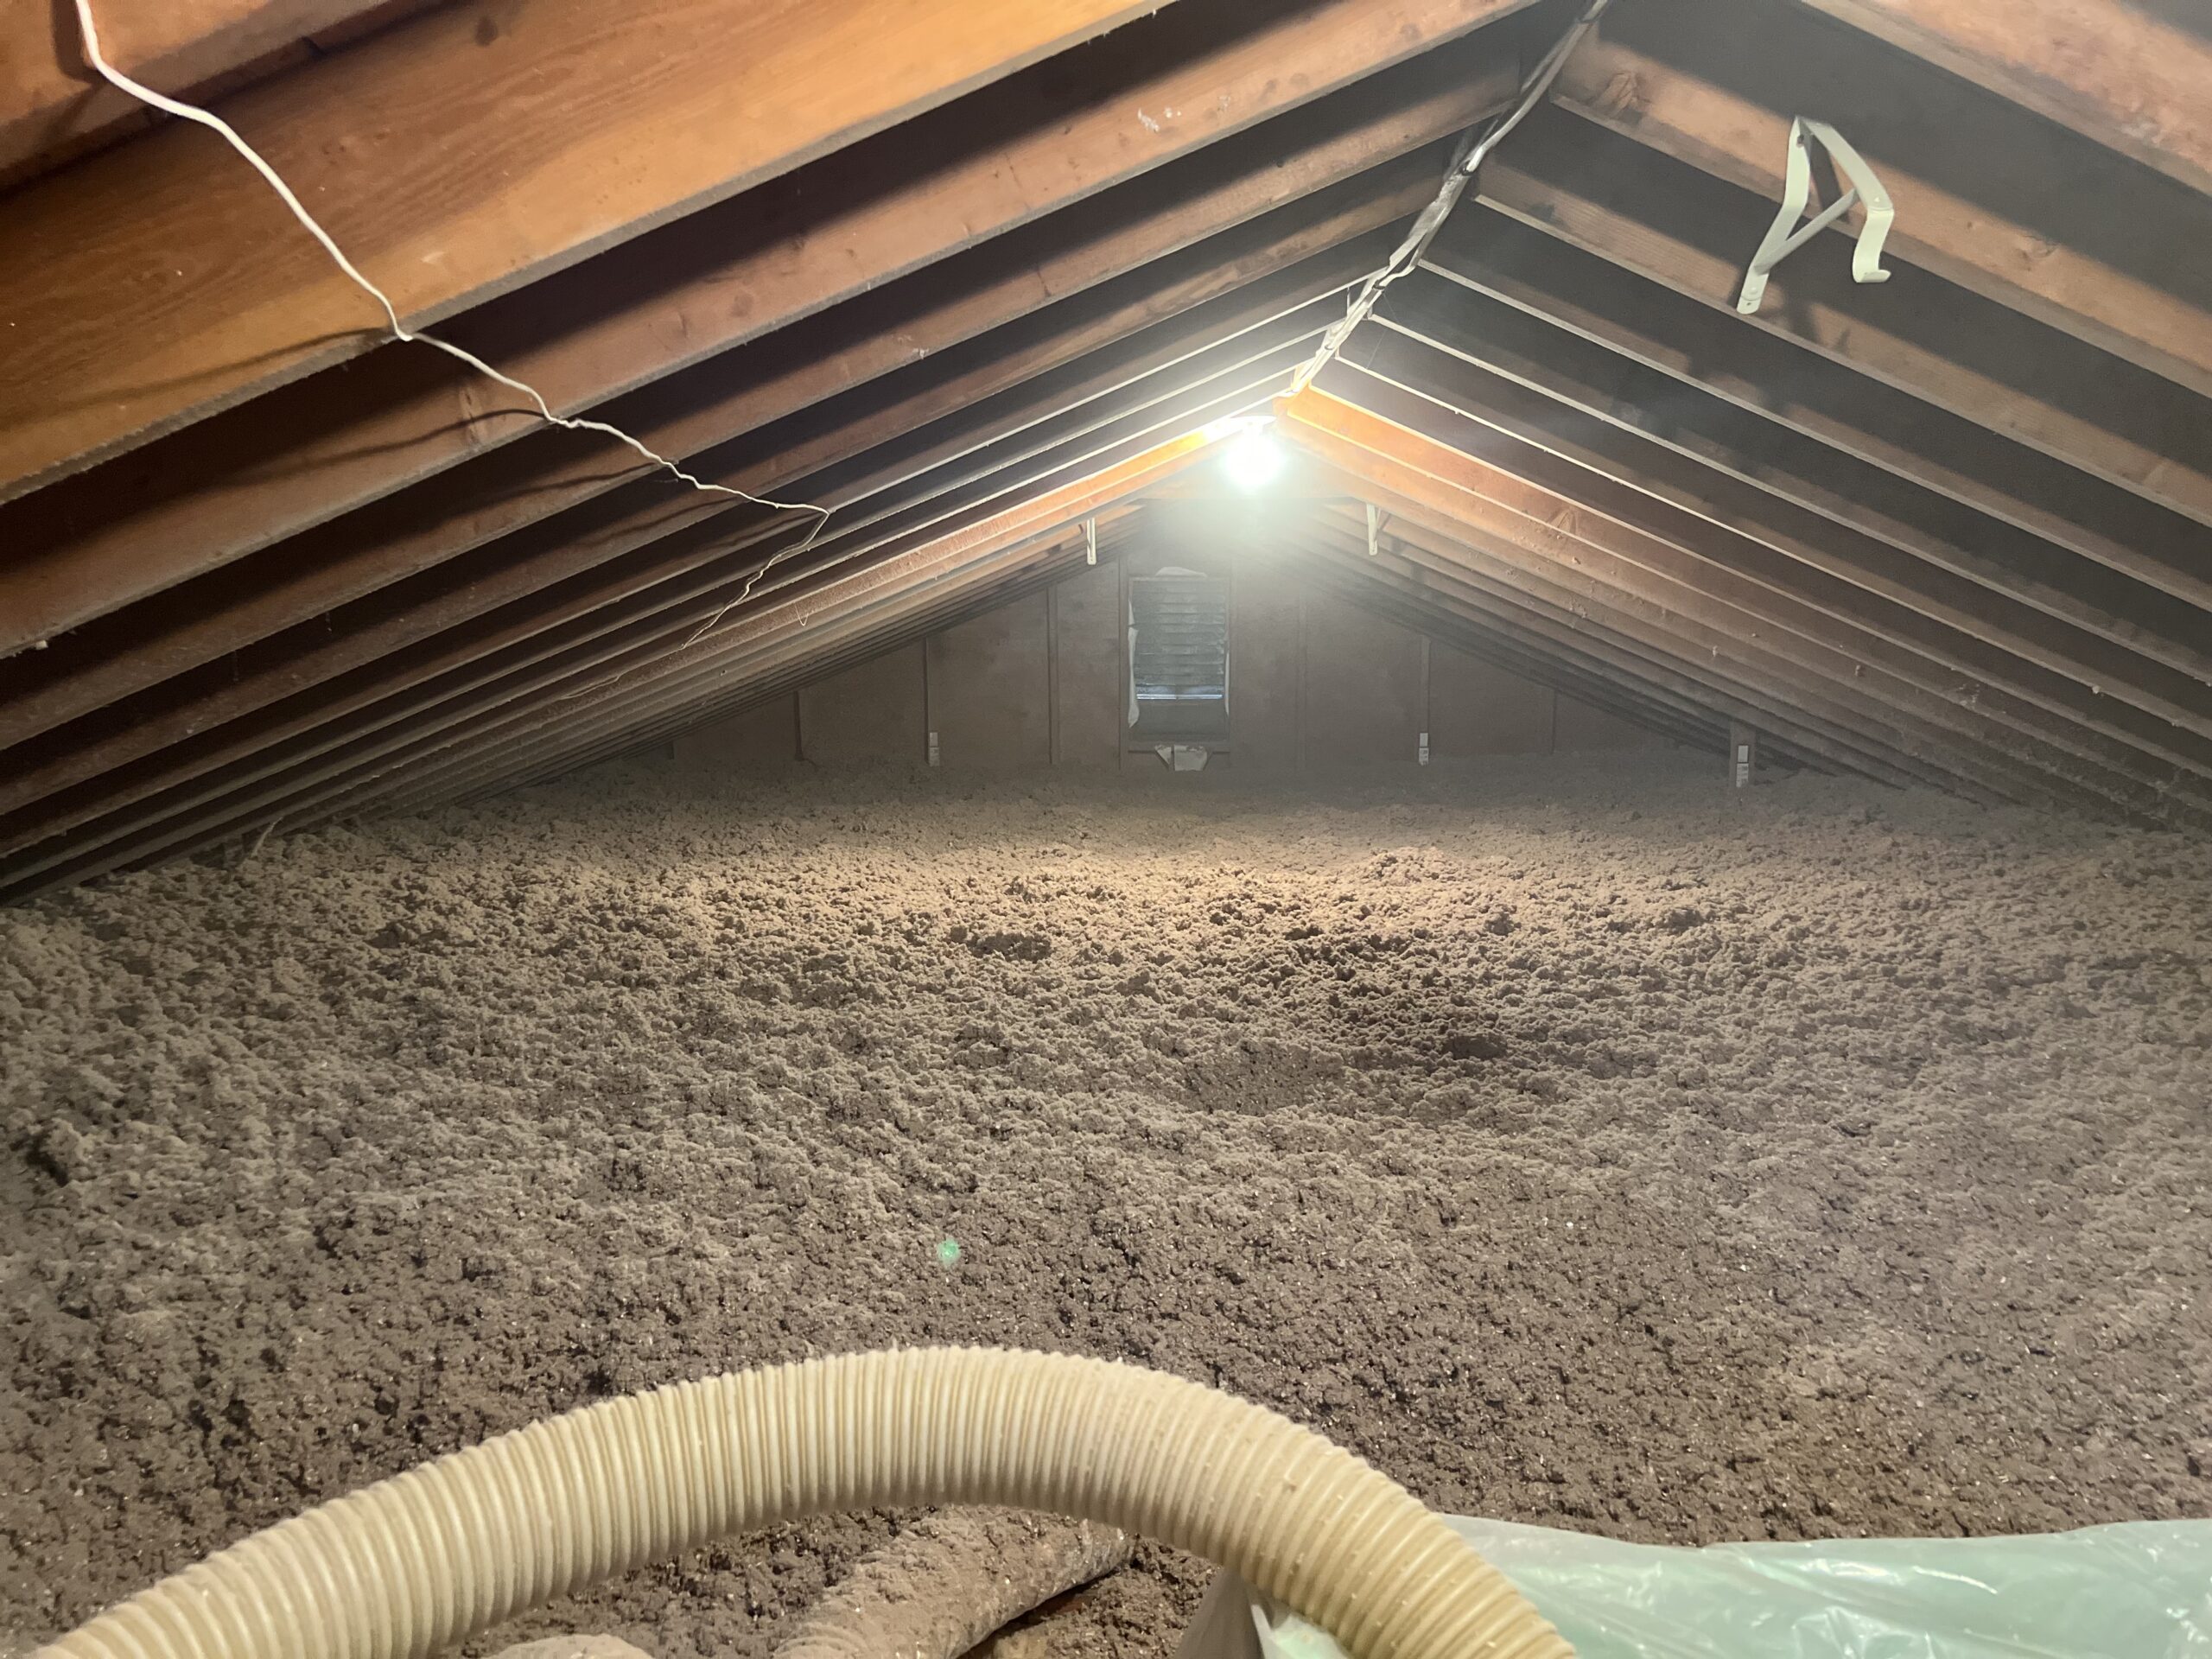
Most homes don’t have enough insulation in the attic. Insulation helps keep the heat inside your home, which can reduce your heating bills. But it also has the added benefit of keeping the roof colder, since it blocks the heat from your home from getting to the roof.
When your roof stays cold, the snow won’t start to melt in the middle of winter, forming an ice dam. Instead, it will only melt when the outside temperatures warm. By then, it will melt evenly across the roof, so ice dams can never form.
Spray foam insulation is both effective and easy to apply. When sprayed on the attic roof deck, it creates a seal between the air inside your home and the air outside.
- Blown in Fiberglass or Cellulose Insulation
Blown-in fiber insulation applications such as blown in fiberglass or cellulose are another option and may be less expensive than spray foam. Although they do not completely air seal, the heat loss through your roof can be reduced with increased attic insulation blown on the attic floor, and often right over the old deteriorated batt insulation you may already have on the floor. The other half of this cure is proper ventilation and air sealing.
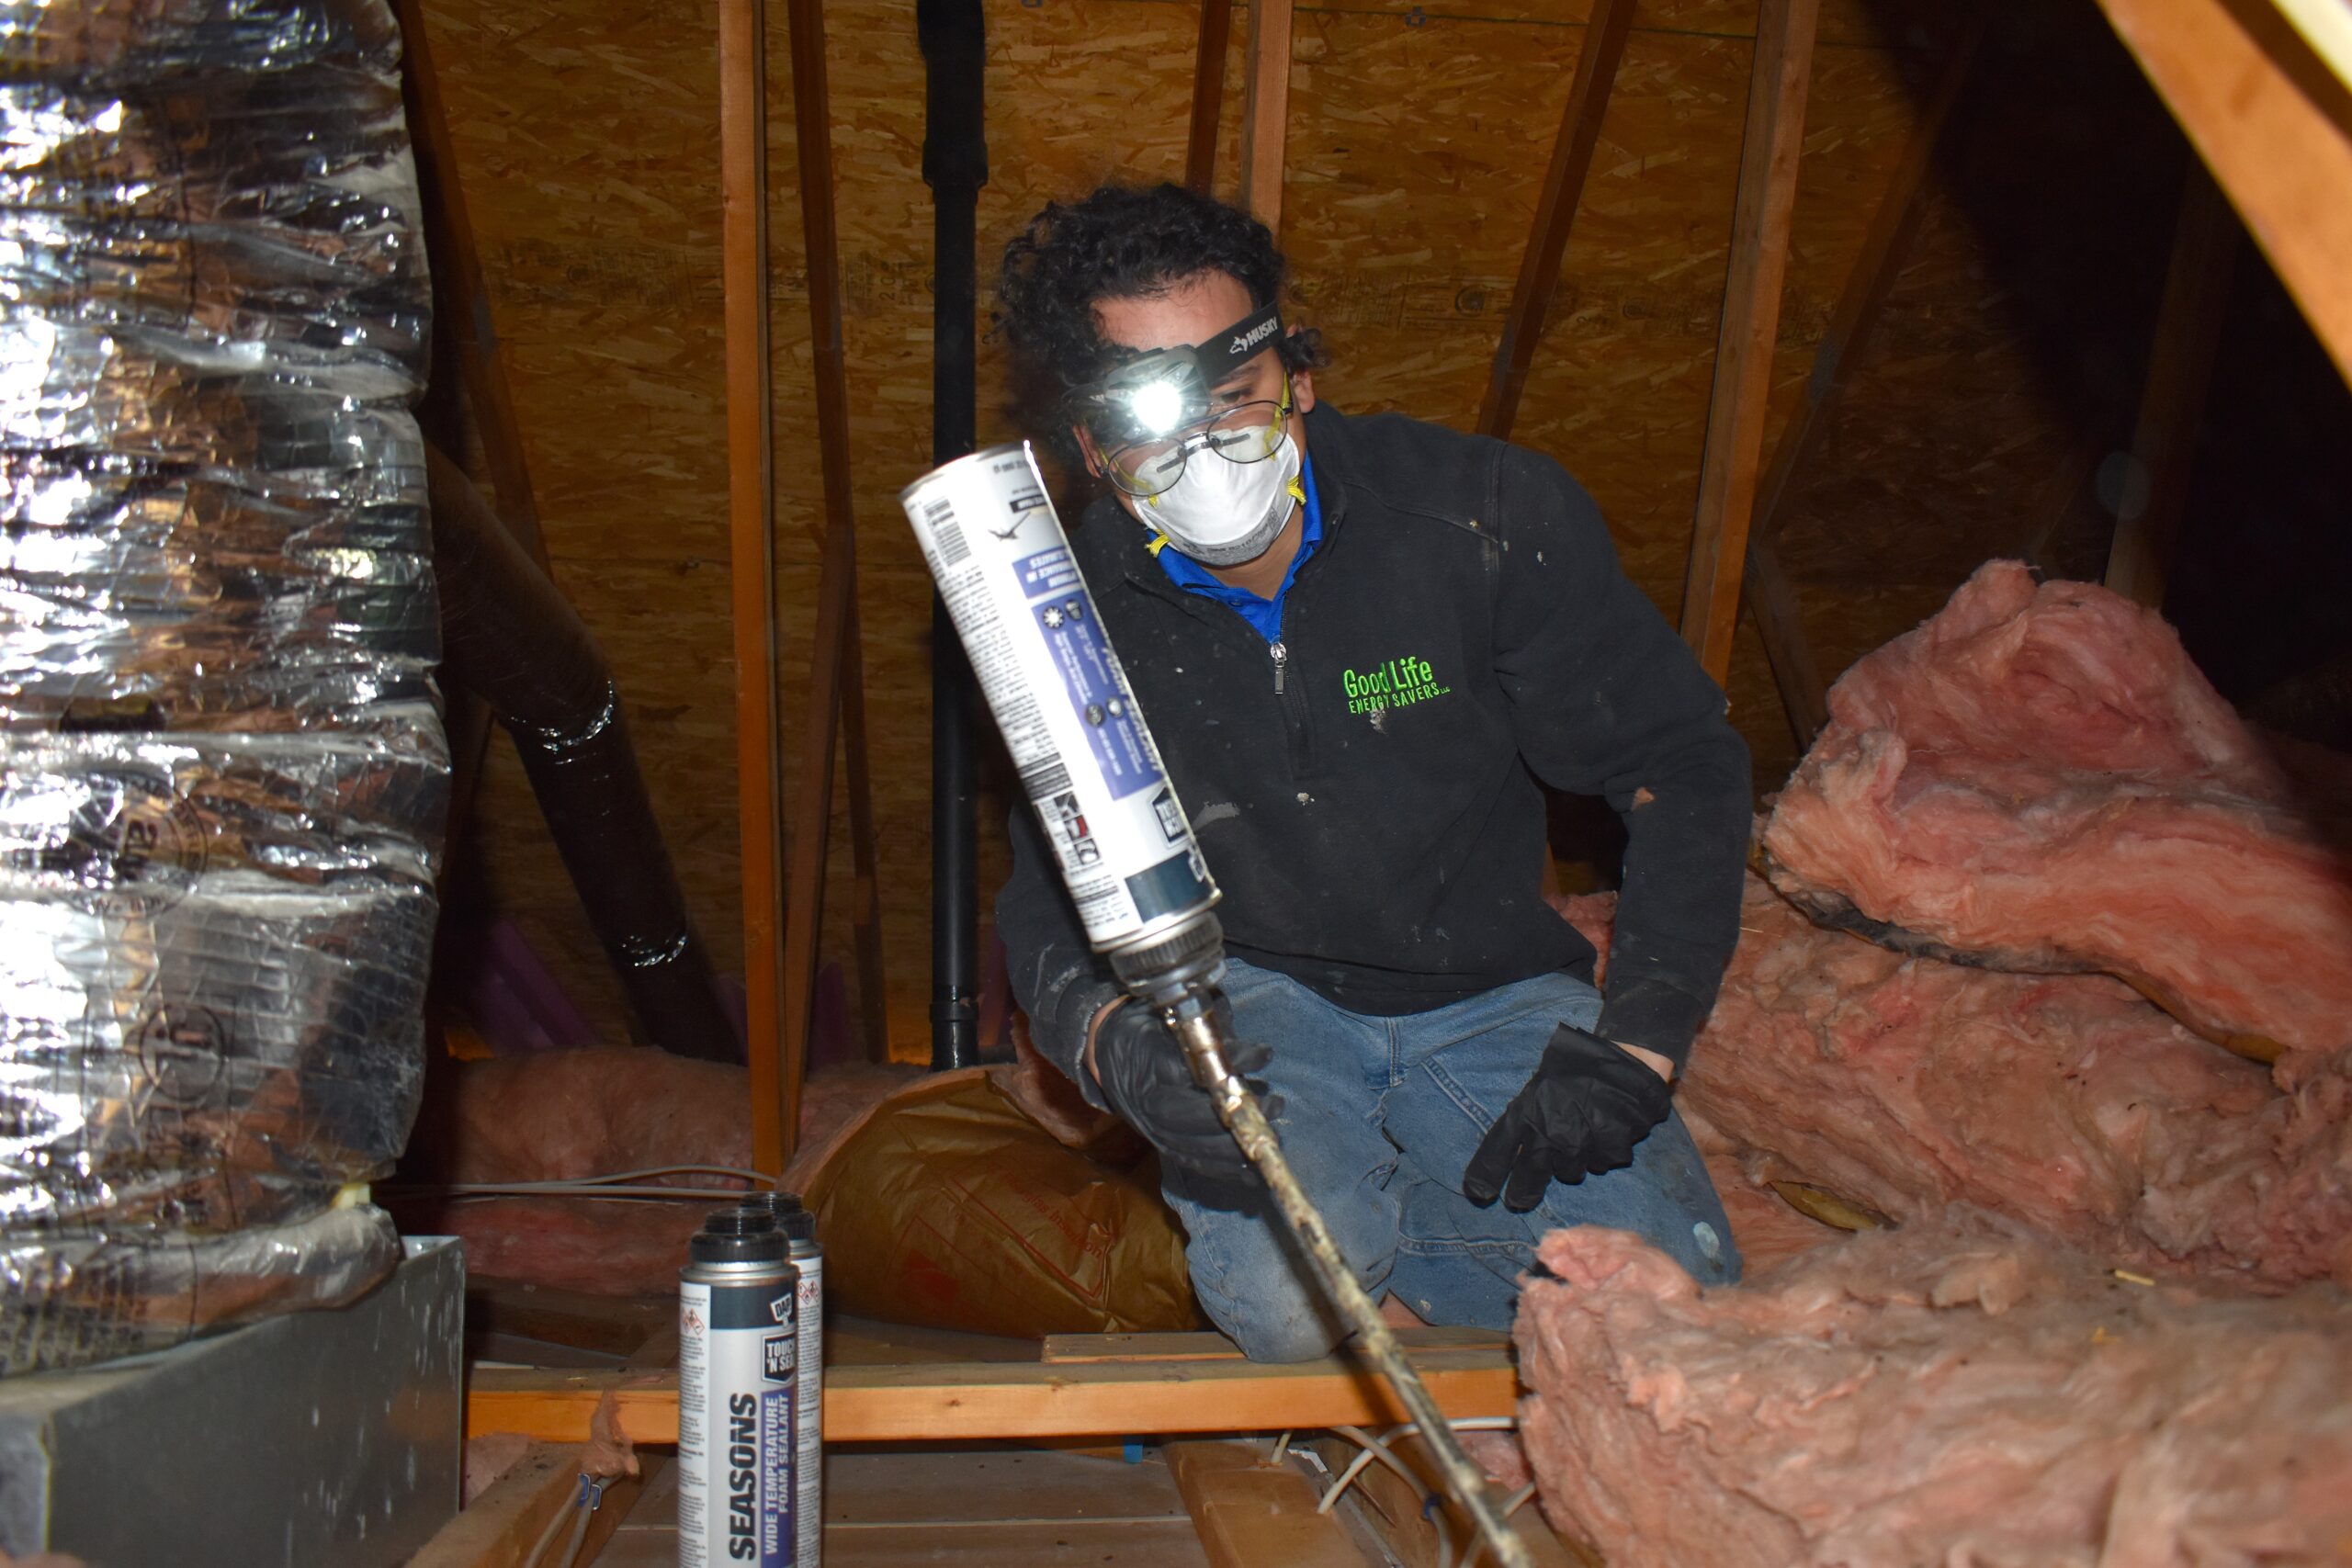
- Close Air Leaks
In addition to adding blown in insulation, it’s important to cover up any other areas where warm air could leak out of your attic and onto the roof. If you select spray foam insulation, this is a one step process, as it both air seals and insulates.
If you choose a blown in fiber product like cellulose or fiberglass, you will still need to air seal. This can include sealing around all of the penetrations in your attic, such as light fixtures, plumping, wiring, and other entryways through your ceiling. Also check for drywall gaps and attic access hatches which can be leaky. The more you can block up airflow from these sources, the less likely an ice dam is to form. Trigger foam and caulk can help plug up these leaks.
How to Stop Ice Dams for Good
It’s always best to use preventative measures, rather than trying to fix an ice dam leak after it starts. And the best way to prevent this type of damage is with proper insulation and air sealing. Ready to protect your home? Learn more about our attic insulation here! (this should link to our page https://goodlifeenergysavers.com/attic-insulation/)
Recent News
Winter is Coming! Don’t Wait To Insulate!
November 13, 2025
🎃 What’s Spookier Than a Haunted House? A High Energy Bill and No Insulation! 👻
October 17, 2025
Why Insulation Is A Smart Investment For Your Home
September 17, 2025

Why Insulation Is Just as Important in the Summer as It Is in Winter
August 11, 2025
Why Attic Insulation Is Essential for Your Home
July 21, 2025
The Benefits of Spray Foam Insulation for New Construction
June 4, 2025
